Working with resin can be incredibly rewarding, but getting a flawless finish starts before you even pour a single drop. In this guide, we’ll take you through the essential steps to prepare your workspace, mold, and resin so your projects come out smooth, bubble-free, and professional-looking.
Step 1: Choose a Stable, Level Surface
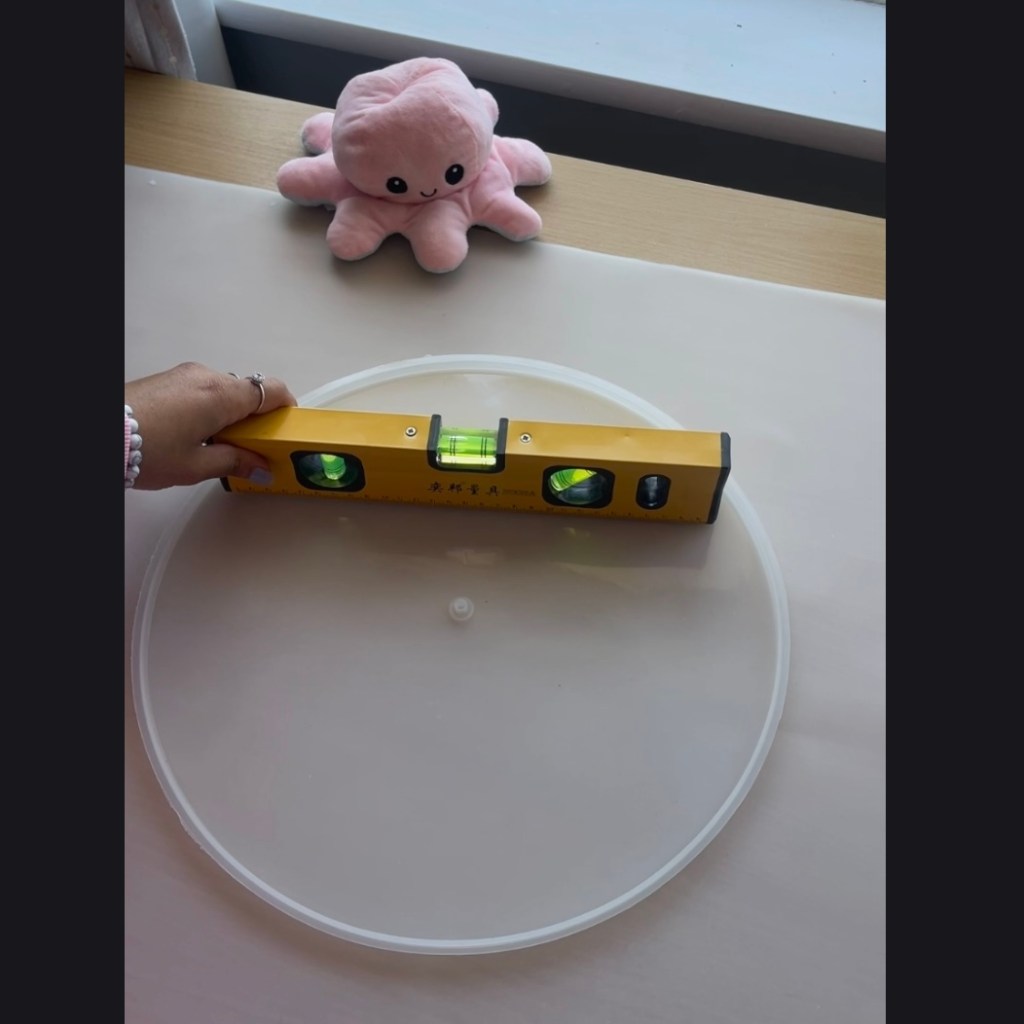
A level surface is the foundation of a perfect resin project. If your table or workspace is uneven, resin can pool in certain areas, leaving one side thicker than the other.
Tips:
- Use a flat, stable table.
- Place protective sheets or parchment paper under your mold to catch any drips.
- Check with a spirit level if possible, especially for larger projects.
Step 2: Clean Your Mold Thoroughly
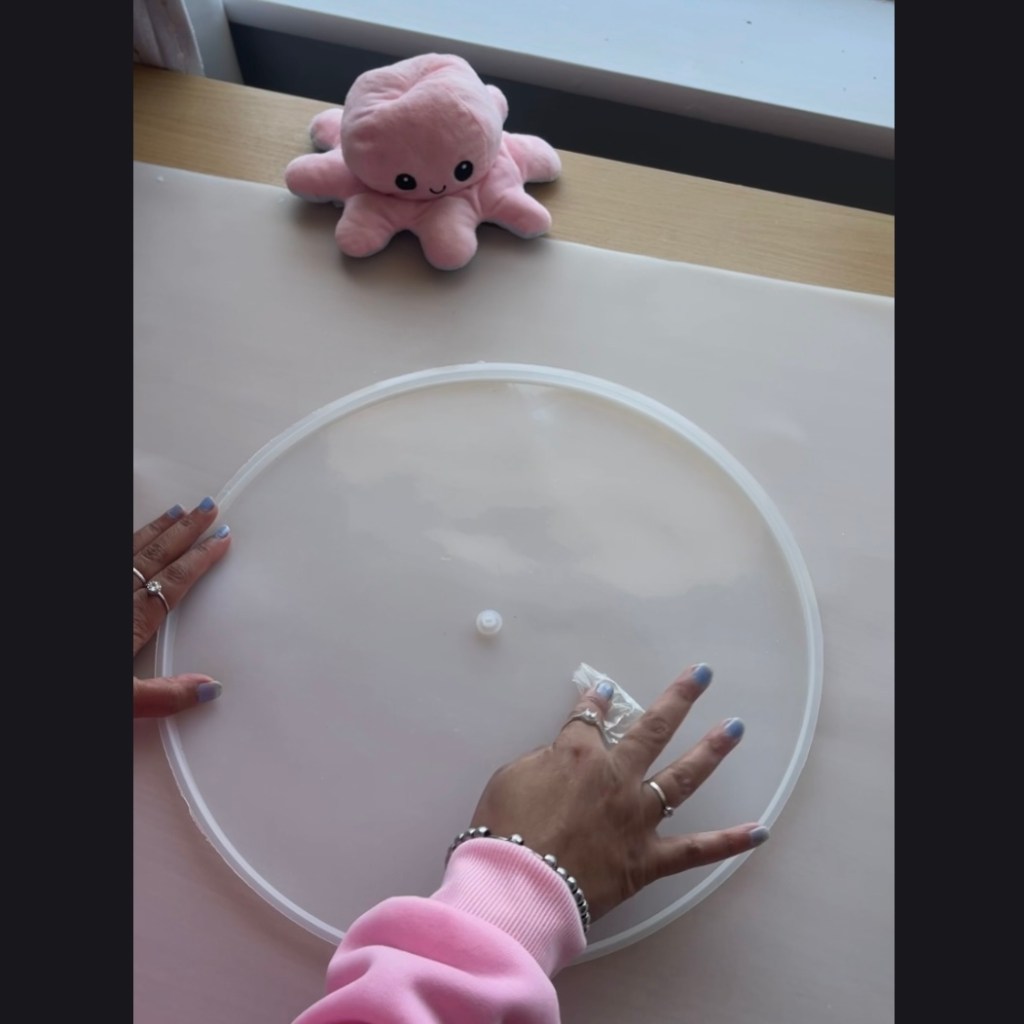
Even the tiniest dust or fingerprints can show up in resin. Cleaning your mold properly ensures a crystal-clear finish.
Steps:
- Wipe the mold with a lint-free cloth.
- Use cellotape or masking tape to lift away tiny particles.
- Ensure the mold is completely dry and free from oil or residue.
💡 Pro Tip: Silicone molds can be wiped with isopropyl alcohol for extra cleanliness, but let them dry completely before pouring.
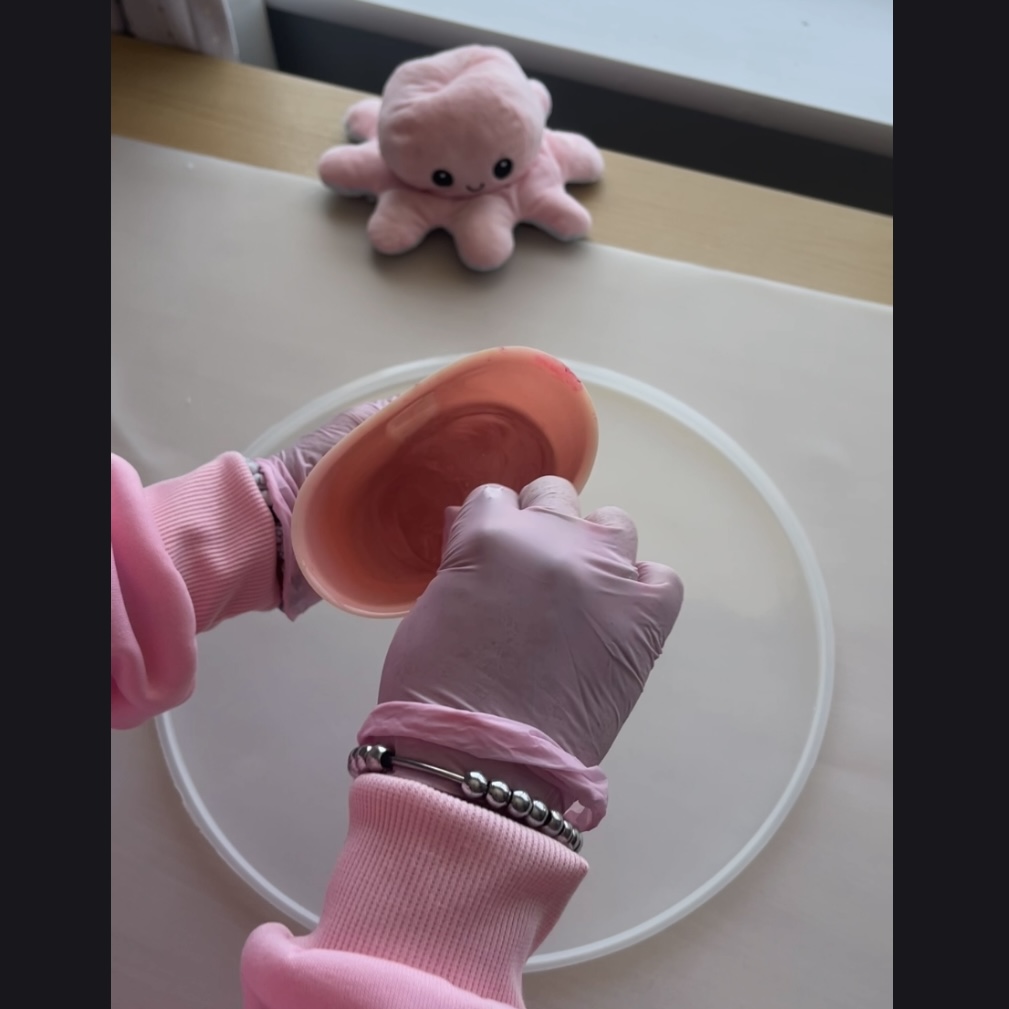
Step 3: Wear Gloves and Prepare Safety Gear
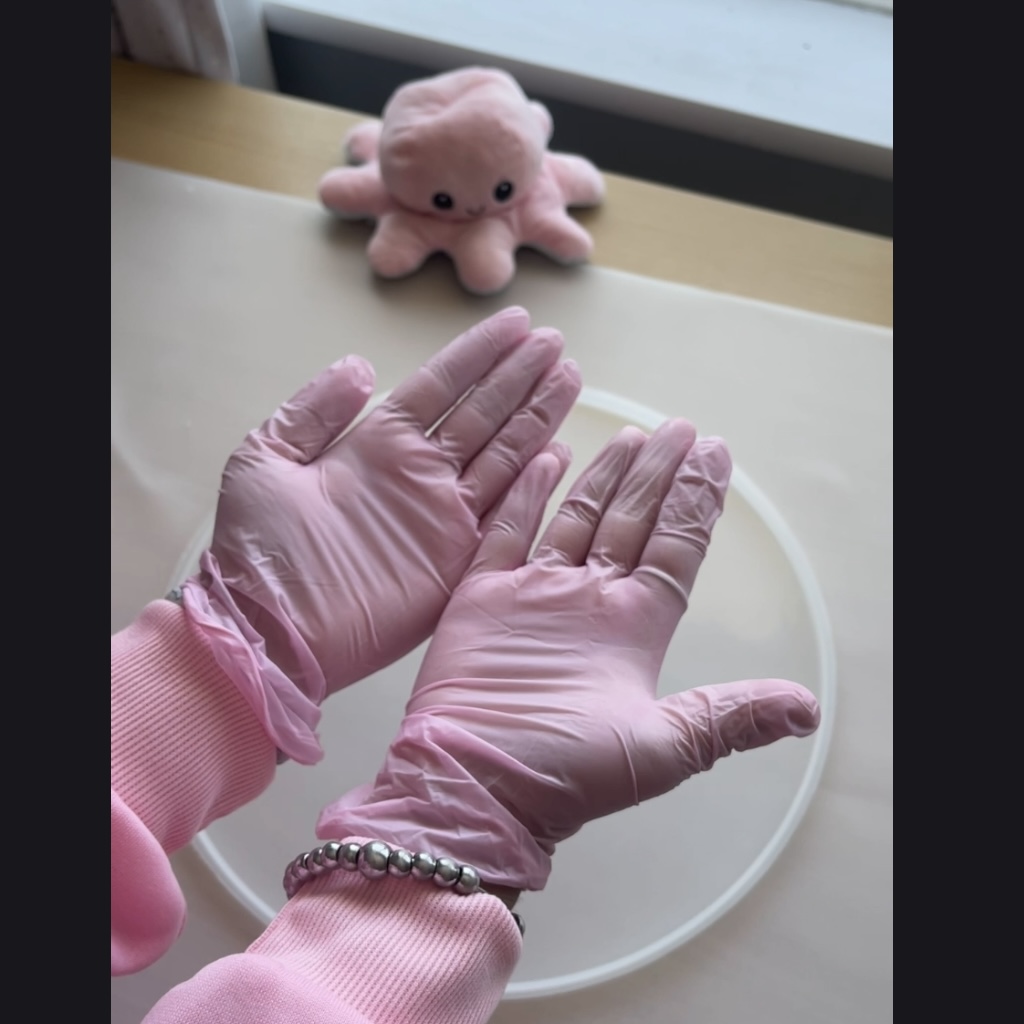
Before handling resin, protect yourself and your workspace. Safety gear helps prevent skin irritation and keeps your environment clean.
Steps:
- Put on nitrile gloves to protect your hands. (Avoid latex gloves—they can react with resin.)
- Wear a mask if you’re working in a small or poorly ventilated area.
- Keep paper towels or cleaning wipes nearby for spills.
- Cover your workspace with a plastic sheet or silicone mat for easy cleanup.
💡 Pro Tip: Always work in a well-ventilated area and keep food and drinks away from your workspace.
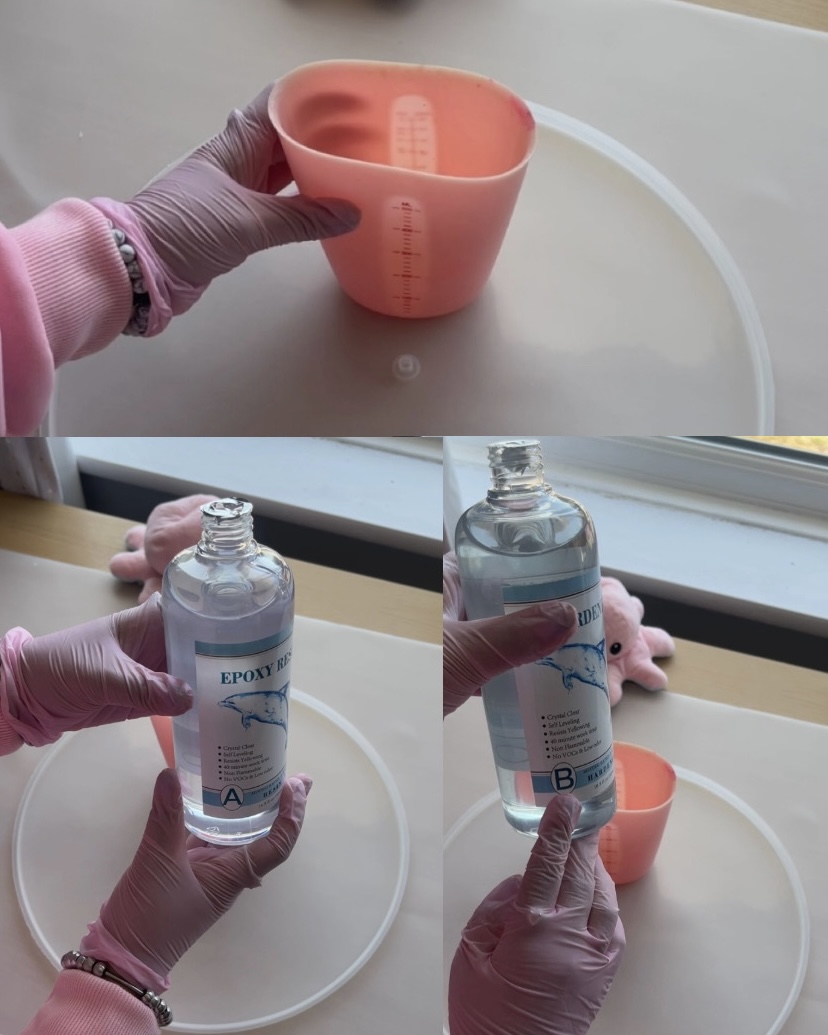
Step 4: Measure Resin Accurately

Resin comes in two parts: Part A (resin) and Part B (hardener). Mixing them in the correct ratio is crucial for proper curing.
Steps:
- Check the manufacturer’s instructions for the exact ratio (e.g., 1:1 or 2:1).
- Use separate measuring cups for Part A and Part B.
- Pour carefully to avoid spills and maintain precision.
💡 Pro Tip: Always measure by volume, not weight, unless the instructions specify otherwise.
Step 5: Mix Resin Thoroughly
Mixing ensures that Part A and Part B react properly. Improper mixing is a common cause of sticky or uncured resin.
Steps:
- Pour Part B into Part A.
- Stir gently but thoroughly for at least 2–3 minutes.
- Scrape the sides and bottom of your mixing cup to make sure everything combines.
💡 Pro Tip: Mix slowly to reduce bubbles, but don’t rush—thorough mixing is essential.
Step 6: Optional Workspace Preparations
- Remove dust from the air or cover your project with a box or plastic sheet.
- Have a heat gun or torch ready to remove surface bubbles after pouring.
- Double-check your workspace lighting so you can see bubbles and details clearly.
Conclusion
Preparation is the key to perfect resin projects. Spending a little extra time on leveling, cleaning, and mixing ensures your pieces come out clear, smooth, and professional every time.
Final Checklist Before Pouring
- ✅ A level workspace
- ✅ Clean, dry mold
- ✅ Gloves and safety gear on
- ✅ Accurately measured resin parts
- ✅ Thoroughly mixed resin
- ✅ Bubble-removing tools ready
✨ At Krafty Ash, we believe every creation tells a story. Get your workspace ready, stay patient, and let your creativity flow!

Leave a comment